软硬件环境
- windows 10 64bit
- anaconda3 with python 3.7
- pycharm 2020.1.2
- flask 1.1.2
- opencv 4.4.0
视频看这里
此处是 youtube 的播放链接,需要科学上网。喜欢我的视频,请记得订阅我的频道,打开旁边的小铃铛,点赞并分享,感谢您的支持。
前言
当下,网络摄像机(IP Camera)的使用已经越来越广泛,大部分的网络摄像机都是基于 RTSP(Real Time Streaming Protocol )传输协议,可是很不幸的是,这种协议,原生浏览器都不支持。
本文介绍一种结合 flask 和 opencv 的方法来实现在浏览器中查看实时的视频流。
安装软件包
新建 python 虚拟环境,然后安装 flask 和 opencv
conda create -n flask python=3.7
conda activate flask
pip install flask opencv-python
编码
接下来就可以进行编码了,首先是 flask 后台服务,注释已经嵌入到了代码当中
from flask import Flask, render_template, Response
import cv2

app = Flask(__name__)

# VideoCapture可以读取从url、本地视频文件以及本地摄像头的数据
# camera = cv2.VideoCapture('rtsp://admin:admin@172.21.182.12:554/cam/realmonitor?channel=1&subtype=1')
# camera = cv2.VideoCapture('test.mp4')
# 0代表的是第一个本地摄像头,如果有多个的话,依次类推
camera = cv2.VideoCapture(0)

def gen_frames():
    while True:
        # 一帧帧循环读取摄像头的数据
        success, frame = camera.read()
        if not success:
            break
        else:
            # 将每一帧的数据进行编码压缩,存放在memory中
            ret, buffer = cv2.imencode('.jpg', frame)
            frame = buffer.tobytes()
            # 使用yield语句,将帧数据作为响应体返回,content-type为image/jpeg
            yield (b'--frame\r\n'
                   b'Content-Type: image/jpeg\r\n\r\n' + frame + b'\r\n')

@app.route('/video_start')
def video_start():
    # 通过将一帧帧的图像返回,就达到了看视频的目的。multipart/x-mixed-replace是单次的http请求-响应模式,如果网络中断,会导致视频流异常终止,必须重新连接才能恢复
    return Response(gen_frames(), mimetype='multipart/x-mixed-replace; boundary=frame')

@app.route('/')
def index():
    return render_template('index.html')

if __name__ == '__main__':
    app.run(host='0.0.0.0', debug=True)
其余部分的代码应该都很熟悉了,这里就不再解释了。接下来就是模板文件 index.html
<!doctype html>
<html lang="en">
<head>
    <meta charset="utf-8">
    <meta name="viewport" content="width=device-width, initial-scale=1, shrink-to-fit=no">

    <link rel="stylesheet" href="https://stackpath.bootstrapcdn.com/bootstrap/4.1.3/css/bootstrap.min.css"
          integrity="sha384-MCw98/SFnGE8fJT3GXwEOngsV7Zt27NXFoaoApmYm81iuXoPkFOJwJ8ERdknLPMO" crossorigin="anonymous">

    <title>Live Streaming</title>
</head>
<body>
<div class="container">
    <div class="row">
        <div class="col-lg-8  offset-lg-2">
            <h3 class="mt-5">Live Streaming</h3>
            <img src="{{ url_for('video_start') }}" width="100%">
        </div>
    </div>
</div>
</body>
</html>
使用 img 标签就可以看到摄像头的图像。
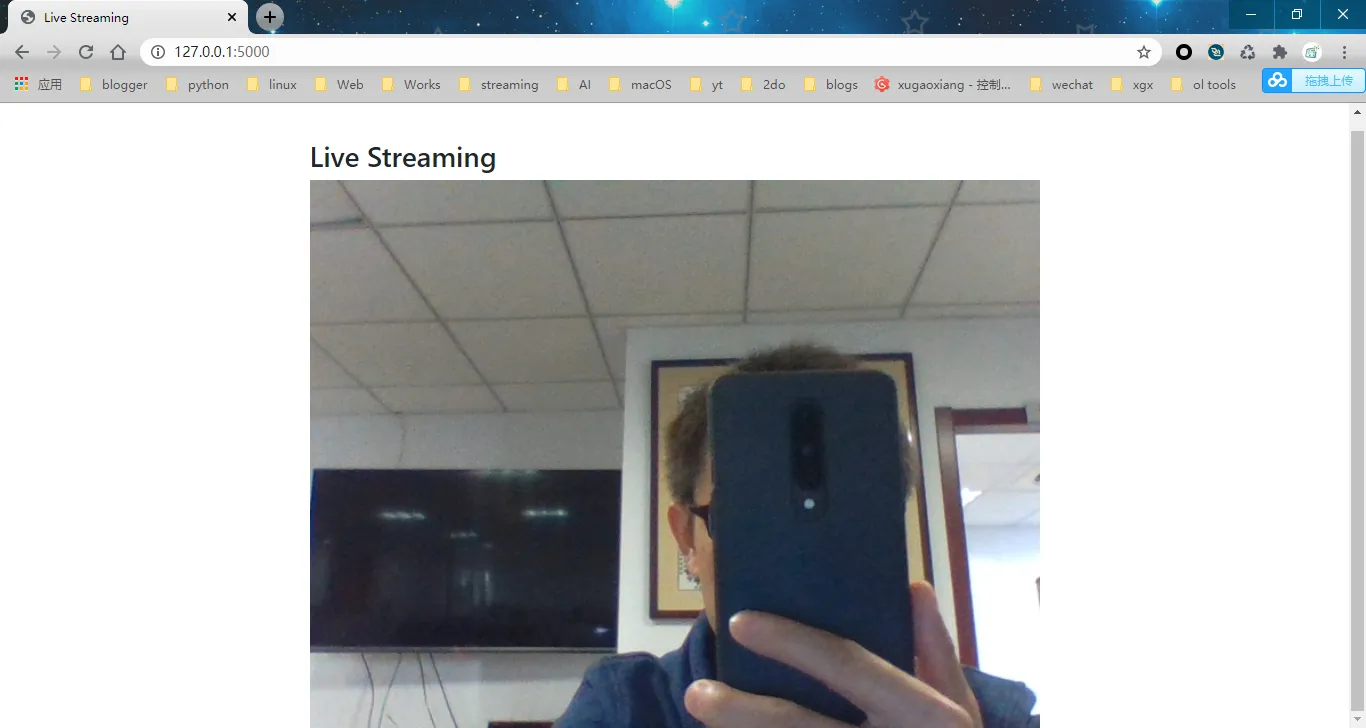
最后我们启动 flask 服务,在浏览器中访问链接 http://127.0.0.1:5000,就可以看到摄像头的实时视频数据了
源码下载
https://github.com/xugaoxiang/FlaskTutorial
Flask教程专题
更多 Flask 教程,请移步