软硬件环境
- ubuntu 18.04 64bit
- anaconda with python 3.7
- libfacedetection
- pyfacedet
视频看这里
此处是youtube的播放链接,需要科学上网。喜欢我的视频,请记得订阅我的频道,打开旁边的小铃铛,点赞并分享,感谢您的支持。
简介
libfacedetection是一个开源的人脸检测库,作者是深圳大学的于仕琪老师。由于项目是用纯C++语言编写,没有任何的第三方依赖,官方声称检测速度能够达到1000FPS,非常的快。但是有一点非常可惜,那就是不支持GPU的加速。
使用方法
下载官方源码
git clone https://github.com/ShiqiYu/libfacedetection.git
cd libfacedetection
mkdir build
sudo apt install cmake build-essential
cmake ..
make这样呢,在build目录下就生成了静态库文件libfacedetection.a和头文件facedetecion_export.h
接下来我们去跑跑实例
cd ../example
sudo apt install pkg-config libopencv-dev
cp ../build/facedetection_export.h ../src/
g++ detect-camera.cpp -a test_cam `pkg-config --cflags --libs opencv` -I ../src/ ../build/libfacedetection.a -fopenmp编译成功后,就在当前目录下生成了可执行文件test_cam,我们执行它,后面跟上摄像头的索引,这里只有一个usb摄像头,所以写上0
./test_cam 0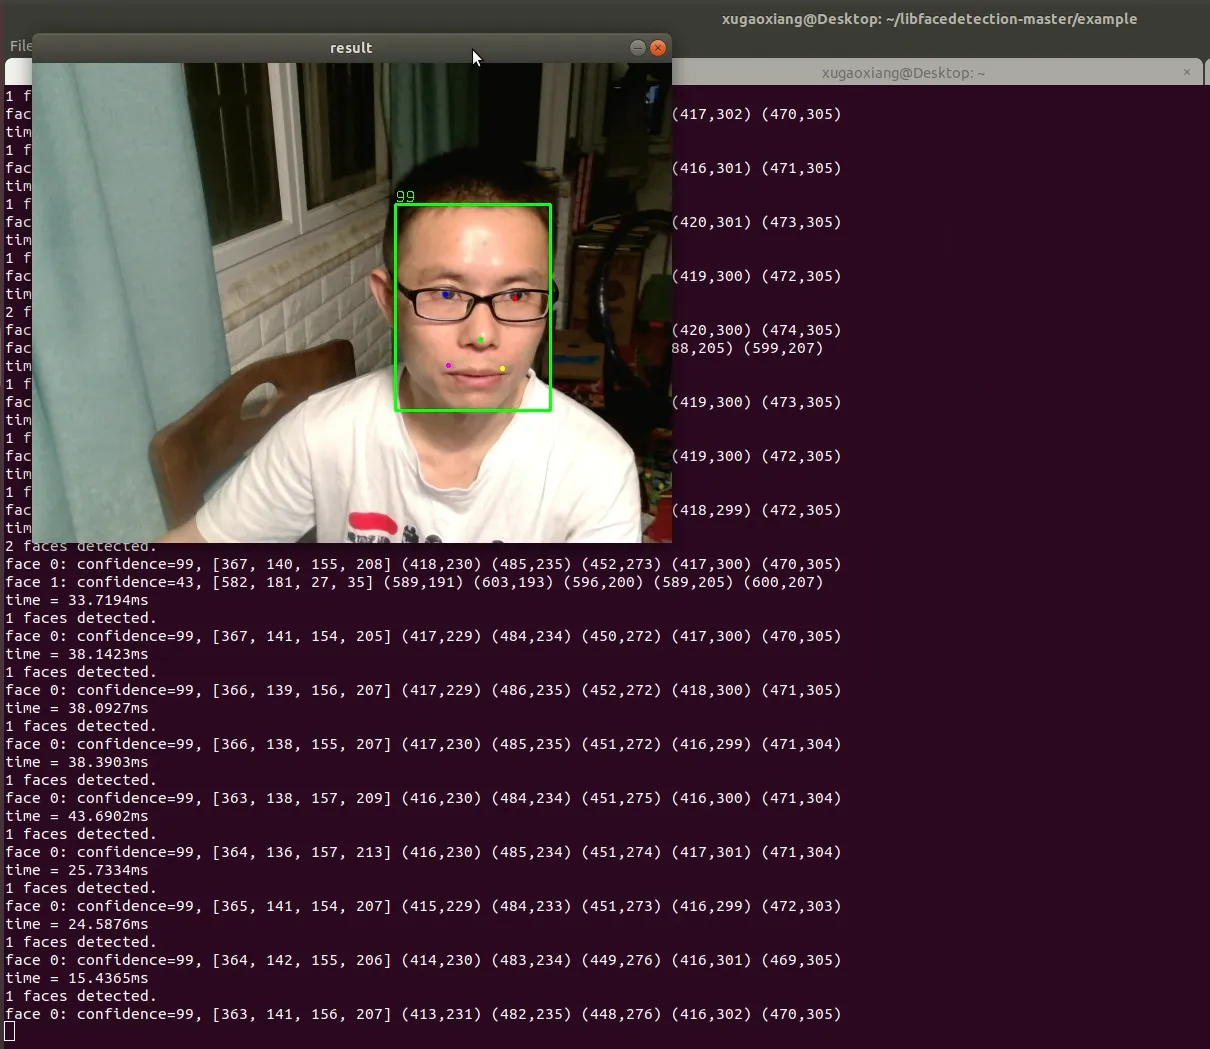
针对图片的检测,我们来编译另一个文件源码detect-image.cpp
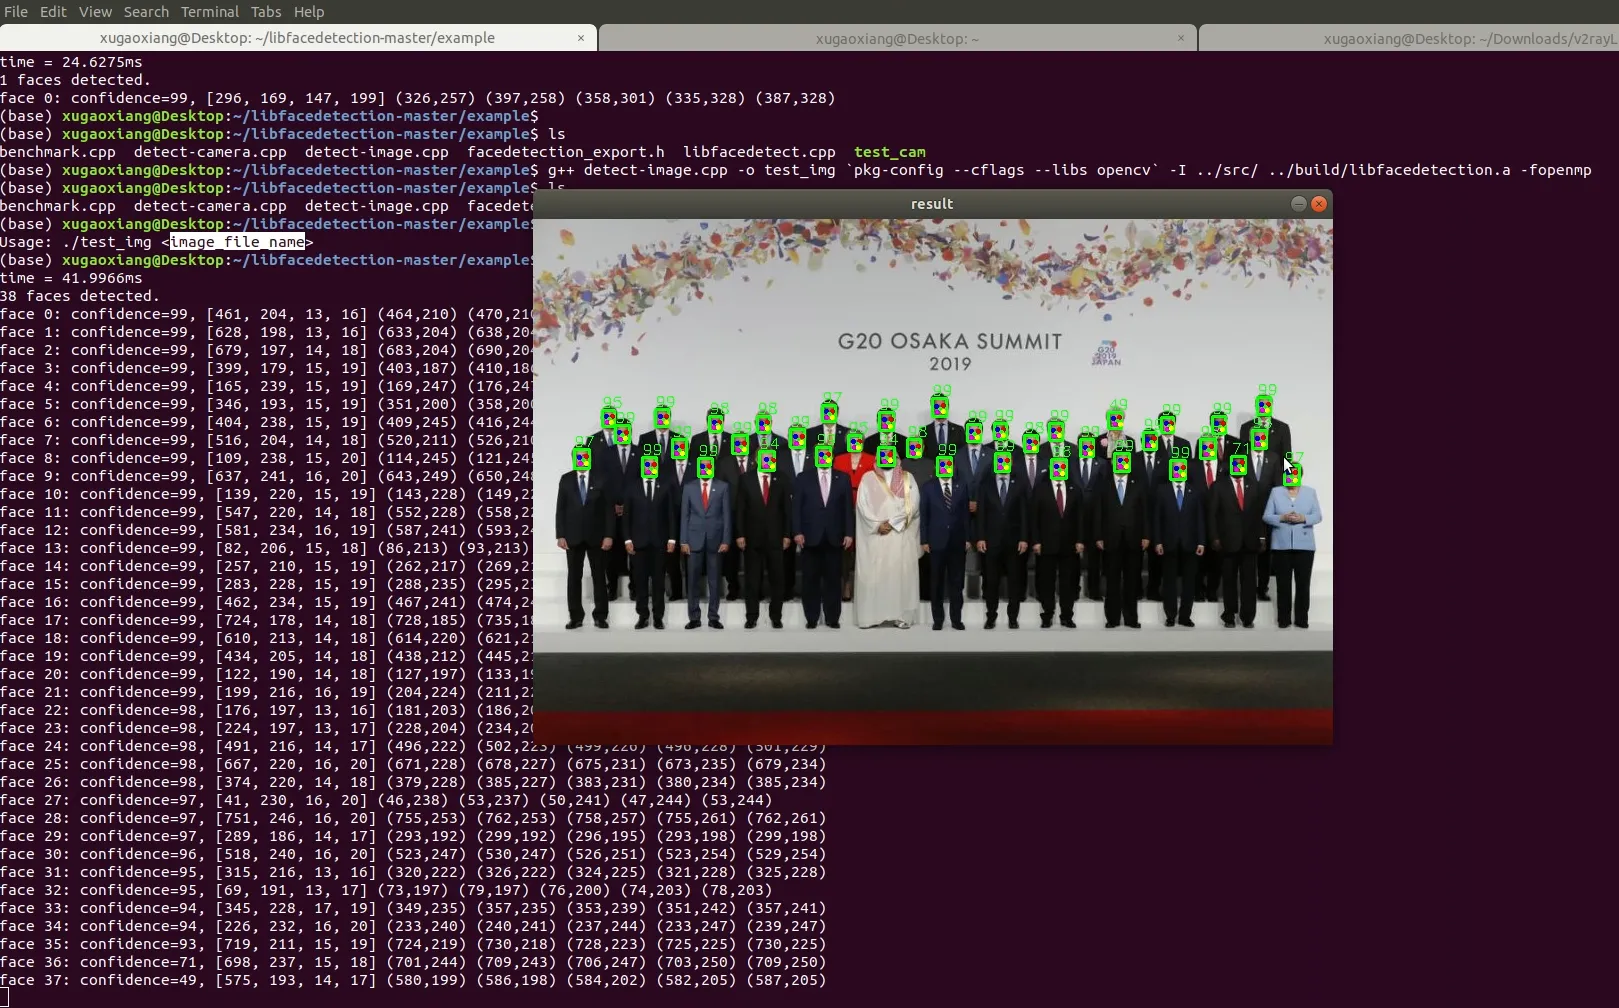
g++ detect-image.cpp -a test_img `pkg-config --cflags --libs opencv` -I ../src/ ../build/libfacedetection.a -fopenmp生成的可执行test_img的使用方法,是在其后面添加待检测图片的路径
./test_img test.jpg这里从网络上找了张g20峰会各国领导人的一个大合照来测试

检测出来的结果非常完美,而且速度也很快,CPU下也只用了42毫秒
如何在python中使用
有热心网友已经开源了相应的python库,封装了libfacedetection,这样的话,我们就直接来使用好了
首先使用pip安装
pip install pyfacedet接下来就可以直接使用了,我们还是分图片和视频,分别进行处理,首先来看图片
from PyFaceDet import facedetectcnn
import cv2
import sys

path = sys.argv[1]
frame = cv2.imread(path)
faces = facedetectcnn.facedetect_cnn(path)
print(" ===faces: {}".format(faces))

for face in faces:
    x=face[0]
    y=face[1]
    L=face[2]
    W=face[3]
    confidence=face[4]
    angle=face[5]
    font = cv2.FONT_HERSHEY_SIMPLEX
    cv2.rectangle(frame, (x,y), (x+L,y+W), (255,0,0), 2)
    roi_color = frame[y:y+W, x:x+L]
    cv2.putText(frame, str(confidence), (x+5, y-5), font, 1, (0, 0, 255), 1)

cv2.imwrite('result.jpg', frame)
cv2.destroyAllWindows()
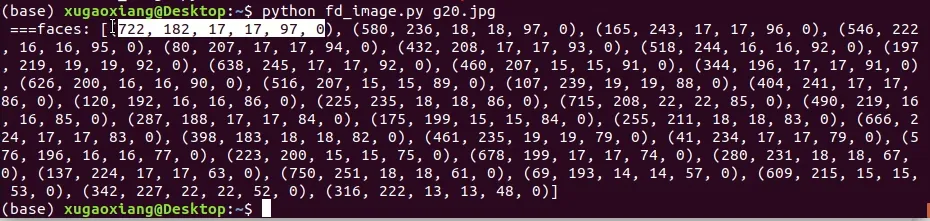
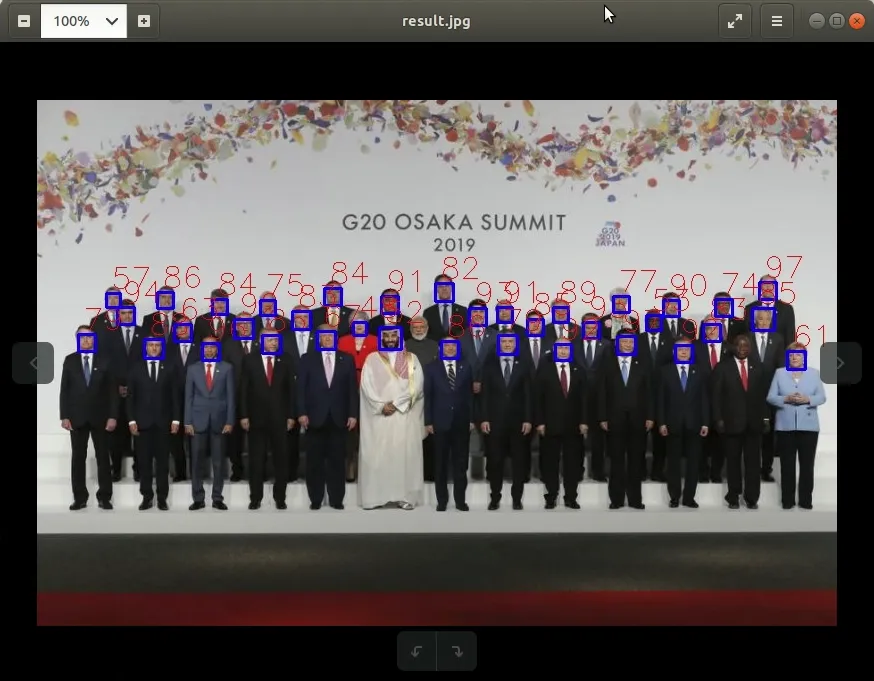
可以看到,PyFaceDet检测出来的结果,跟原生C++版的结果要差一些,有漏掉的,也有相似度很低的
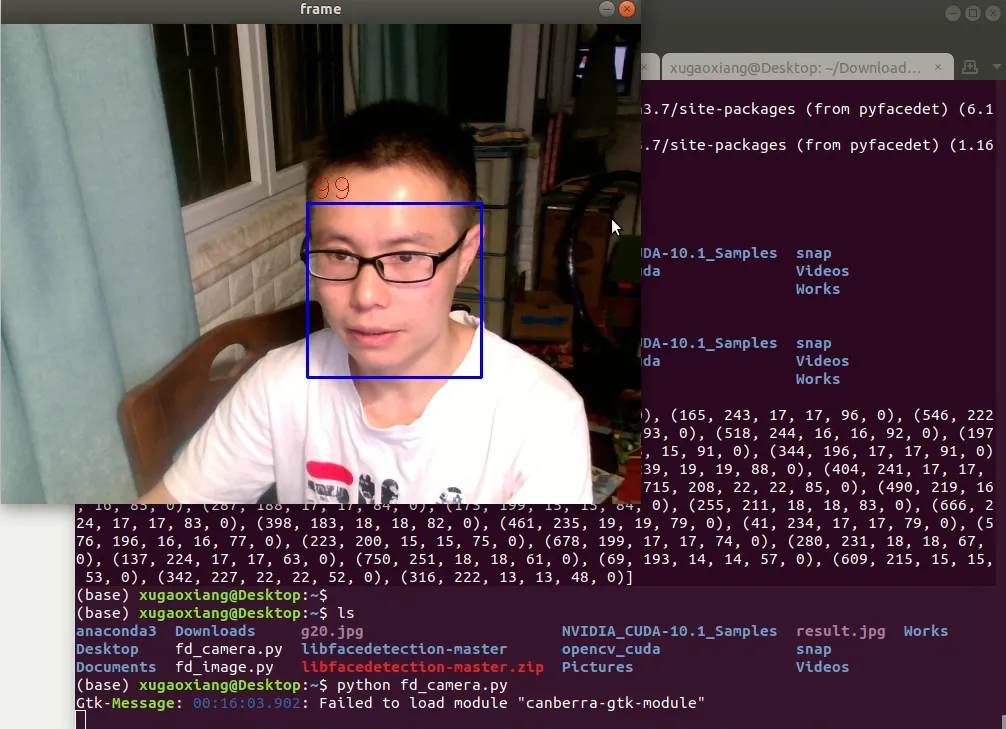
针对摄像头的处理
from PyFaceDet import facedetectcnn
import cv2

cap = cv2.VideoCapture(0)

while True:
    ret, frame = cap.read()
    gray = cv2.cvtColor(frame, cv2.COLOR_BGR2GRAY)

    faces = facedetectcnn.facedetect_cnn(frame)
    for face in faces:
        x=face[0]
        y=face[1]
        L=face[2]
        W=face[3]
        confidence=face[4]
        angle=face[5]
        font = cv2.FONT_HERSHEY_SIMPLEX
        cv2.rectangle(frame, (x,y), (x+L,y+W), (255,0,0), 2)
        roi_color = frame[y:y+W, x:x+L]
        cv2.putText(frame, str(confidence), (x+5, y-5), font, 1, (0, 0, 255), 1)

    cv2.imshow('frame', frame)

    if cv2.waitKey(1) & 0xff == ord('q'):
        break

cap.release()
cv2.destroyAllWindows()